Difference between revisions of "Historical:SoC 2008 Masking in GUI"
(Undo revision 12364 by Paola09, revert link spamming) |
|||
| (4 intermediate revisions by 2 users not shown) | |||
| Line 45: | Line 45: | ||
* <s>Allow users to mark regions</s> | * <s>Allow users to mark regions</s> | ||
* <s>Zoom in/out</s> | * <s>Zoom in/out</s> | ||
| − | * LazySnapping without pre-segmentation. | + | * <s>LazySnapping without pre-segmentation.</s> |
| − | * Start implementing support for polygon mode editing. | + | * <s>Start implementing support for polygon mode editing.</s> |
2.2 After Mid Term Evaluation | 2.2 After Mid Term Evaluation | ||
* Fix issues with first phase(bugs, usability, etc.) | * Fix issues with first phase(bugs, usability, etc.) | ||
| − | **Fix LazySnapping without pre-segmentation. | + | **<s>Fix LazySnapping without pre-segmentation.</s> |
| − | **Add preview option and choosing multiple images to display | + | **<s>Add preview option and choosing multiple images to display</s> |
**Performing segmentation on overlapped region | **Performing segmentation on overlapped region | ||
* Undo/Redo operation | * Undo/Redo operation | ||
| + | **<s>Polygon Editing mode</s> | ||
| + | **Lazy Snapping | ||
* Load/Store masks | * Load/Store masks | ||
| − | * Integration with Hugin | + | **<s>Save Bitmap mask</s> |
| + | **<s>Store brush strokes</s> | ||
| + | **<s>Store mask from hugin</s> | ||
| + | * <s>Integration with Hugin</s> | ||
* Remapping support | * Remapping support | ||
* <s>Implement custom max flow/min cut algorithm (the one that is going to be used initially is under research only license).</s> <s>Use [http://www.boost.org/doc/libs/1_35_0/libs/graph/doc/kolmogorov_max_flow.html kolmogorov_max_flow()] from Boost library (thanks to Stephan Diederich for the suggestion)</s>[Not needed. maxflow v2.2 (GPLed version) is used] | * <s>Implement custom max flow/min cut algorithm (the one that is going to be used initially is under research only license).</s> <s>Use [http://www.boost.org/doc/libs/1_35_0/libs/graph/doc/kolmogorov_max_flow.html kolmogorov_max_flow()] from Boost library (thanks to Stephan Diederich for the suggestion)</s>[Not needed. maxflow v2.2 (GPLed version) is used] | ||
Revision as of 08:34, 7 May 2010
Introduction
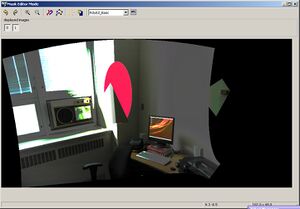
The objective of this project is to provide the user with an easy to use interface for quickly creating blending masks. After the images are aligned and shown in the preview window, users will have the option of creating blending masks. Currently the goal is to provide option for mask creation in the preview window. Since it already shows the aligned images, it would be easier for users to create appropriate masks from there.
Project Outline
Implementation will be done in two phases. In the first phase, the basic framework will be implemented. Users will be able to mark regions as either positive or negative. Where positive regions(alpha value 255) should be kept in the final result and negative regions(alpha value 0) will be ignored. Based on the marked region a polygonal outline of the marked region will be created. Since the outline may not always be accurate (eg. in the case of low contrast edge), a polygon editing option will be provided (the idea is from [2]). It should be noted that the actual mask representation is pixel-based and the polygonal outline is only to assist with creating mask (this is easier to understand from the video in [2]).
Finally, when the user chooses to create panorama, the masks are generated as output. These masks can be incorporated into the alpha channel of the resulting tif files using enblend-mask or similar tool.
The editing features that are going to be available in this phase are -
- Defining mask by drawing brushstrokes
- Option for zooming in/out
- Set brush stroke size (may not be necessary)
The second phase will focus on improving fine-tuning options and general usability. Support for 3D (2D spatial and sequence of images as the third dimension) segmentation will also be provided. This will be helpful if an object is moving across the image and we want to exclude that object from the final scene. A straight forward approach is to mask that object in every image. But this requires a lot of work. 3D segmentation will simplify this by automatically creating masks in successive images. In this stage, I'll also look at how to create masks for separating brighter regions (due to flash) from darker regions (enblend video). One idea is to pre-process before doing segmentation. Pre-processing can be done by converting the RGB image to a different color space and applying threshold chosen by the user.
The features that are going to be provided in this stage are -
- Undo/Redo
- Storing/Loading masks (only support storing/loading user input for the moment)
- Support for fine-tuning boundaries
- Automatically segmenting sequence of images
- Creating masks for bright regions
Timeline
1. Before Start of Coding Phase:
Determine input/output and how the user interaction processConstruct a preliminary design of the softwareOutline of how the algorithm will workFinalize the scope of the projectStart porting the existing implementation of image segmentation to use wxWidget and VIGRA (this will be used for testing the basic functionalities)
2. Coding Phase:
2.1 Before Mid Term Evaluation
Stand-alone application for testing the basic frameworkSecond iteration of design
Implement a basic framework that can –
Take a set of aligned images of a particular formatAllow users to mark regionsZoom in/outLazySnapping without pre-segmentation.Start implementing support for polygon mode editing.
2.2 After Mid Term Evaluation
- Fix issues with first phase(bugs, usability, etc.)
Fix LazySnapping without pre-segmentation.Add preview option and choosing multiple images to display- Performing segmentation on overlapped region
- Undo/Redo operation
Polygon Editing mode- Lazy Snapping
- Load/Store masks
Save Bitmap maskStore brush strokesStore mask from hugin
Integration with Hugin- Remapping support
Implement custom max flow/min cut algorithm (the one that is going to be used initially is under research only license).Use kolmogorov_max_flow() from Boost library (thanks to Stephan Diederich for the suggestion)[Not needed. maxflow v2.2 (GPLed version) is used]
Low Priority:
- Fine tuning mask
- Perform 3D image segmentation
- Allow creating masks for bright region
Deliverables
The final deliverables will be –
- An extensible framework for GUI based mask editing.
- An extensible interaction system that supports the primary forms of interaction.
- A Graph-cut library that can be used for implementing other graph-cut based techniques/solving different problems (eg. HDR Deghosting by specifying desired image to use for certain region [3], constraining control points by marking regions where control points should not be generated, etc).
Masking Requirements for Different Tools
In this section, I'll illustrate how enblend and ptmasker uses the mask. The purpose of this exercise was to get an idea of how the mask is used by the two programs. Although how different tools work with the mask is outside the scope of the mask editor, the objective was to get familiar with the tools and also to document the differences so that new users know what to expect in the final result.
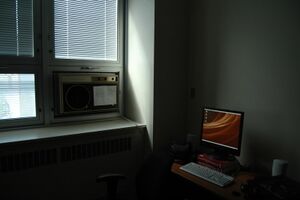
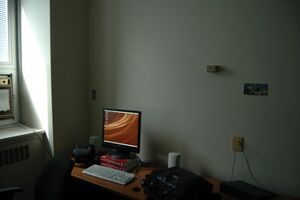
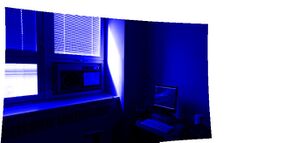
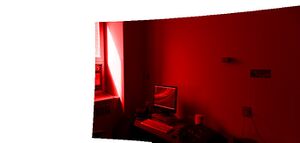
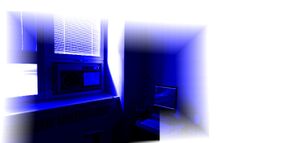
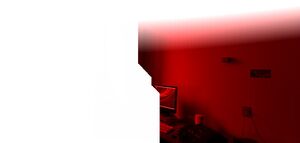
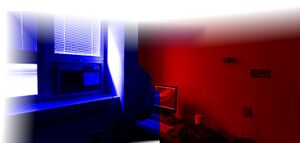
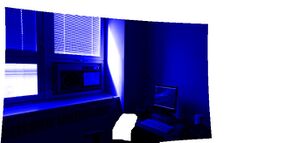
For this experiment, two images were first remapped from Hugin. The remapped images were uncropped using PTuncropper and their color channels were modified to make seam detection easier. A total of four cases were considered. These are described below -
Without Mask
enblend without masking
The result procduced by enblend is as follows -
Notice that the seam is near the corner ie. the high frequency regions as expected.
ptmasker without masking
I've tried ptmasker with different feather sizes (e). The results for e=0 and e=100 are shown.
e=0
e=100
With Mask
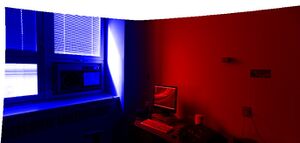
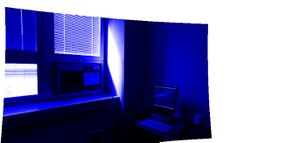
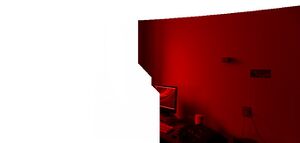
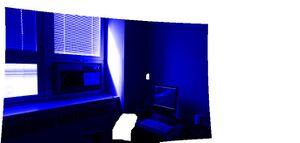
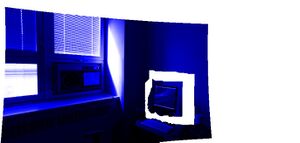
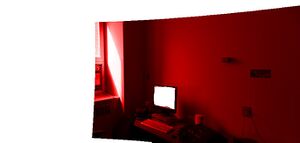
The following images were used for testing with masks.
Left
Right
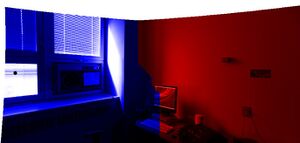
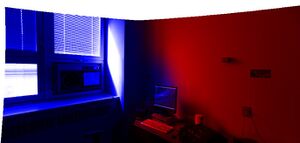
enblend with masks
ptmasker with masks
Design
Algorithm
The main algorithm that is going to be used is outlined in [1]. There are also other image segmentation techniques like SIOX. But one of the advantages of [1] is that it can be easily used for N-D image segmentation and also the result can be iteratively improved in the way demonstrated in [2]. Furthermore, the underlying graph cut optimization that is used can be used to implement other features as well.
[1] works by constructing an energy equation that represents the energy of a particular labeling of an image. The objective is to find a labeling that minimizes the equation. This is done by constructing a graph (more specifically an s-t graph) where the nodes represent the pixels and the edges between the neighboring nodes reflects the similarity between pixels (if two pixels are similar then they are more likely to be part of the same segment). Two extra nodes known as the source and terminal nodes representing the foreground and background are added to the graph. All the nodes are then connected to these two new nodes and the edge weights represent penalty for mislabeling a pixel. Finally, min-cut/max-flow algorithm is applied on the graph which finds a minimum cut representing the desired labeling.
Since in [1] the number of nodes is equal to the number of pixels, for large images runtime will be very slow. To mitigate this problem [2] performs an additional preprocessing step where the image is over-segmented using watershed filtering algorithm. Additionally, for fine-tuning the segmentation [2] performs graph cut segmentation in a smaller region that is define by the user, around the boundary.
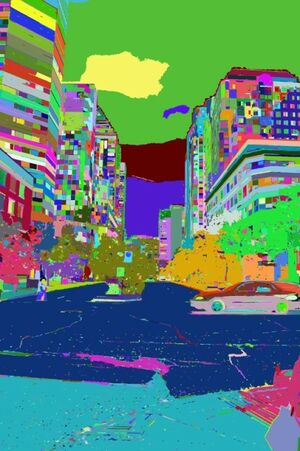
For pre-segmentation, I also tried out automatic segmentation as outlined in "Efficient Graph-Based Image Segmentation" (http://people.cs.uchicago.edu/~pff/segment/) using code from the authors website. The size of the original image was 3008x2000 pixel ie. 6016000 nodes. It took about 2mins to process and the resulting number of nodes was 5657. The result is shown below -
Architecture
Some of the requirements that needs to be considered for the design are -
- Ability to interchange between pixel-based and spline-based representation
- Import/Export functionality (ie. allowing mask created in using other tools to be imported and edited inside hugin)
- Store/Load in different format (closely related to Import/Export)
- Remapping support
- Apply the mask at the nona rendering stage (support for this probably needs to be added to hugin_stitch_project)
Use Cases
Interaction with the GUI
Creating Masks
Using Masks
Class Design
Main Class Diagram
The objective of the design is to have a loosely coupled system that allows using any segmentation algorithm and can be used by any external application.
Application
This is the standalone application that works as a mediator(communication will be done using observer pattern) between different components of the system.
ISelection
This is the interface for segmentation. By using an interface we allow different mask selection algorithm to be used. Initially lazy-snapping segmentation, and basic polygon editing (different from the one used in lazy-snapping. This is just to get started with the implementation.) mechanism will be implemented.
GUI
All the GUI related functionalities will be handled by this part of the system. I'll divide this class into several subclasses in the next few iterations, but essentially the task of drawing brushstrokes, rendering image and user interaction will be handled by this part of the system.
PanoLib
This part of the system is concerned with doing the remapping. This is basically going to be a wrapper around existing libraries.
PTOFileMgr
The responsibility of this class will be to load pto files (ie. interpret the content), and pass the required information to the application.
MaskMgr
This class is concerned with loading and storing masks in different ways. The import/export functionality will also be provided by this component.
Sequence Diagram
Open Mask Project
Segmentation
User Guide
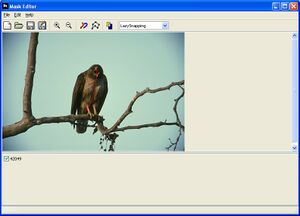
1. Load an image: File->Load Images->(select an image)
2. Choose PolyEd_Basic from the drop down menu
3. Click 'Add point' button on the toolbar or alternatively Edit->Add Point (zoom in/out if requried)
3. Left click to add point and right click to finish adding points
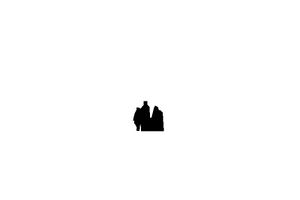
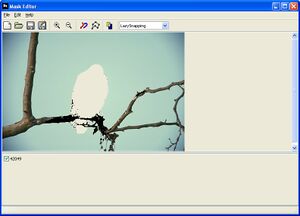
4. File->Save Mask->(provide a filename and location) mask will be stored as a bitmap file
Lazy Snapping
1. Load an image: File->Load Images->(select an image)
2. Choose LazySnapping from the drop down menu
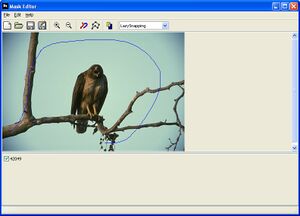
3. Click 'Brush Stroke' icon on the toolbar or alternatively Edit->Brush Storke (zoom in/out if requried)
4. Hold left mouse button down and drag over foreground. To mark background hold down the right button and drag.
4. File->Save Mask->(provide a filename and location) mask will be stored as a bitmap file
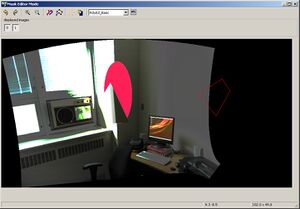
Using Mask Editor from Hugin
1. Load images or open project
2. Go to preview mode
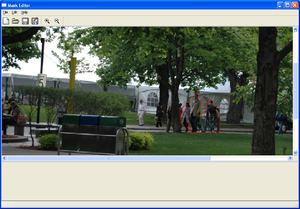
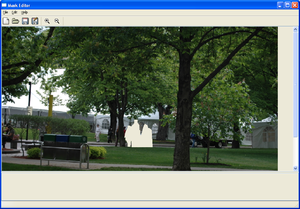
3. Click 'Mask Editor' toolbar icon
4. Select the image you want to edit. If multiple images are selected only the last one will be edited.
5. Choose the editing mode
6. Add or draw brushstrokes depending on the editing mode
7. Click the 'Preview mode' icon when editing is finished
Test Dataset
If you would like to contribute dataset for this project upload the files to the wiki or to google groups file section or to my email directly. If its already on the web add the link here or send me an email. My email is: fmannan at gmail.com
[test dataset contributed by the community]
Glossary of Terms
- Graph Cut: Graph cut is an optimization technique. Problems in computer vision/image processing such as image restoration, segmentation, etc. are posed as an optimization problem. In the case of Graph cut optimization, these optimization problems are represented as a min-cut problem which is solved using max-flow/min-cut algorithm. For some problems like binary segmentation (ie. segmenting as foreground and background) graph cut provides a global optimal solution. For others (eg. multi-label segmentation) it provides an approximate solution.
- Image Segmentation: Image segmentation can be considered as a labeling problem where different regions of an image is label differently. For instance, in the case of binary segmentation the foreground and background objects can be labeled as foreground and background respectively.
- Multi-label Image Segmentation: In this kind of segmentation problem multiple labels are assigned. For instance different regions of an image can be labeled based on the content of that region eg. people, trees, sky, water, etc.
References
[1] Yury Boykov, Marie-Pierre Jolly, "Interactive graph cuts for optimal boundary & region segmentation of objects in N-D images," Proc. Eighth IEEE ICCV, vol.1, no., pp.105-112 vol.1, 2001. webpage
[2] Yin Li, Jian Sun, Chi-Keung Tang and Heung-Yeung Shum, "Lazy Snapping," ACM Transaction on Graphics(Proceedings of SIGGRAPH), Vol 23, No. 3, April 2004.paper video
[3] Aseem Agarwala, Mira Dontcheva, Maneesh Agrawala, Steven Drucker, Alex Colburn, Brian Curless, David Salesin, Michael Cohen, "Interactive Digital Photomontage," ACM Transactions on Graphics (Proceedings of SIGGRAPH), 2004. webpage

