Leveling a Finished Panorama
Sometimes you'll do a lot of manual touchup on a panorama that you think is finished, and then realize that it's not level. Oops!
Fortunately, it is easy to level the panorama even after doing manual touchup.
Procede as follows using PTGui. (A similar sequence should work with PTAssembler.)
- Create a new project consisting of just one image: your unlevel but otherwise finished panorama.
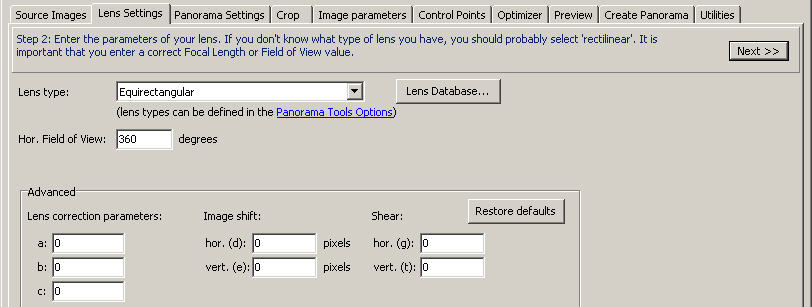
- Set lens parameters to be equirectangular, hfov=360, a/b/c=0.
- Set output pano to be equirectangular, hfov=360, vfov=180, "Set optimum size".
- Either:
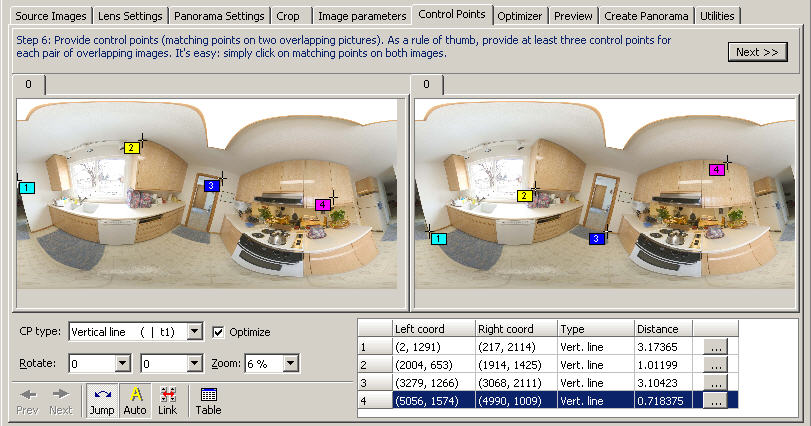
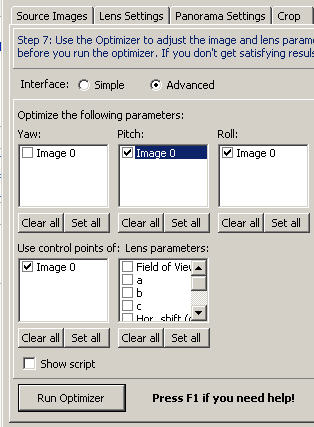
- Define several sets of vertical control points, then optimize pitch and roll, or
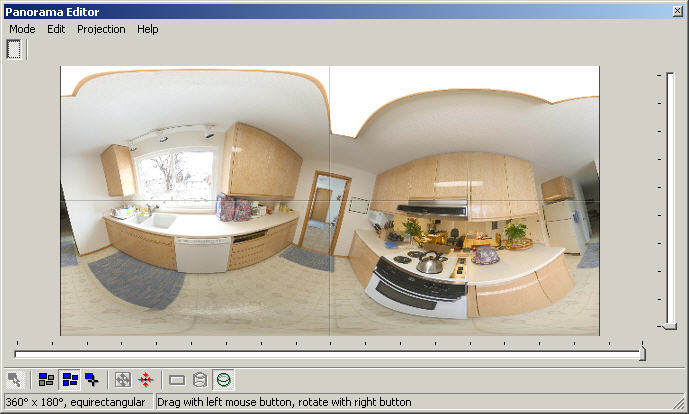
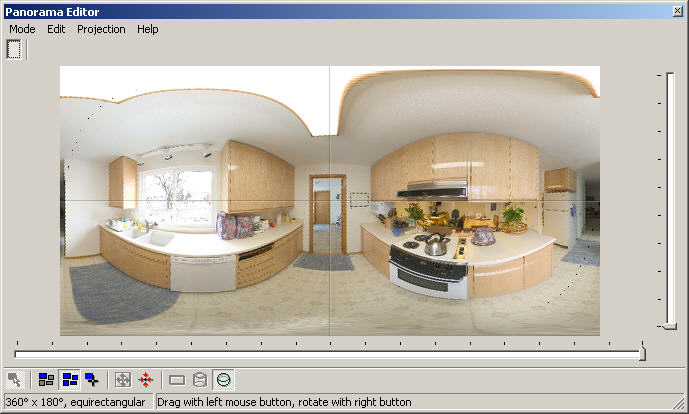
- Graphically level the pano using the Panorama Editor window in mode Edit Entire Panorama, using right-mouse drag to rotate until the horizon's high or low spot is centered, then left-mouse drag until the wave flattens out.
- Push button Create Panorama!
Here are some pictures illustrating this process (using an artificially un-leveled pano ;-)
The original off-level pano and lens settings:
Vertical control points and optimizer settings:
The leveled pano:
