Animating panoramas in Blender
This tutorial describes just one technique for rendering a video from a spherical panorama. In this case we are using Blender, an open source 3d modeling package, but other similar tools can probably be used to equal effect. Alternatively you can use dedicated software such as Pano2Movie.
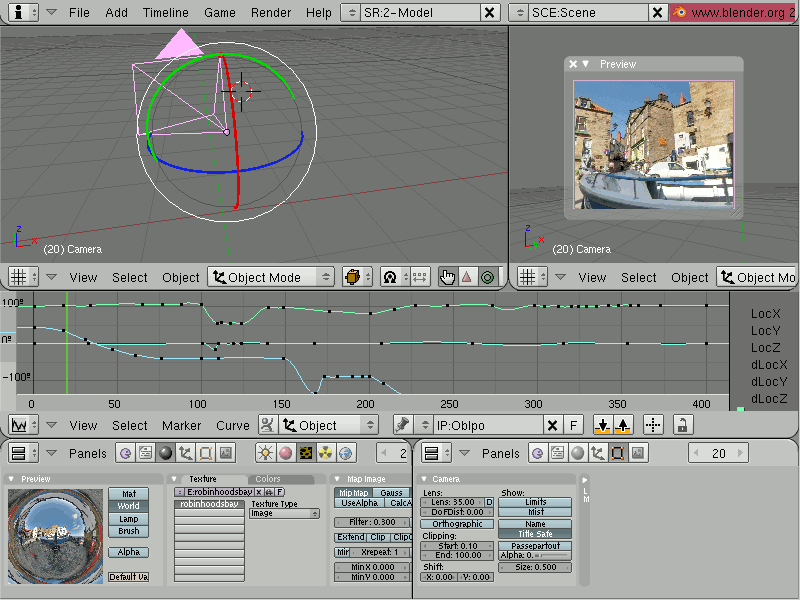
The way this works is to load a panorama as the background for an empty scene; then set keys for the pan, tilt and zoom of the camera as you would for any normal animation.
Prepare the texture
There are several ways of rendering an image background in Blender, such as creating a skydome or cubic environment map, but here we are using a lightprobe.
A lightprobe is usually a HDR image, but in this case we are just using a normal LDR image. Lightprobes are 'traditionally' in a fisheye format rather than equirectangular, so convert the scene to a square 360° fisheye image with the principal point on the horizon, I use hugin for this, but any of the GUI front-ends will do. Make sure the pixel width of the fisheye is the same as the pixel width of the original equirectangular so we don't lose any resolution.
Preparing the scene
Did you learn how to use Blender first? Good! Start it up with an empty project.
First delete the initial cube object and the light, we won't be needing them. Move the camera to somewhere near directly above the origin point.
Create the texture
In the Buttons window, pick Shading -> Texture buttons
Then create a new texture: World -> Texture -> Add New -> Texture Type -> Image and give it a name: 'robinhoodsbay'.
Then: Image -> Load, and browse for our 360° fisheye lightprobe image. For some reason, Blender downsamples the image by default, in Map Image -> Filter, change the value from '1.000' to '0.300'.
Create the environment
Again in Buttons window, pick Shading -> World buttons.
In Texture and Input -> AngMap, pick the 'robinhoodsbay' texture already created, Map To -> Hori and Preview -> Real.
Set the rendering quality
In the Buttons window, pick Scene -> Render buttons.
We want to oversample as much as possible to get rid of aliasing artefacts, so set Render -> OSA -> 16, and one of the main reasons for using a rendering package is to make use of motion blur, so set Render -> MBLUR -> Bf: 0.50. A blur factor of '0.5' will simulate an aperture that is open 50% of the time, equivalent to a traditional cine camera.
Note that these settings are probably excessive, this amount of oversampling means that each frame is rendered 256 times and the results averaged together.
Now click RENDER to see the first frame. Actually animating the camera is something covered in many other Blender tutorials.
The result
Finally, here is the completed animation as a very low quality YouTube video (the full 640x480 file is 9.9MB should anyone want to host it).
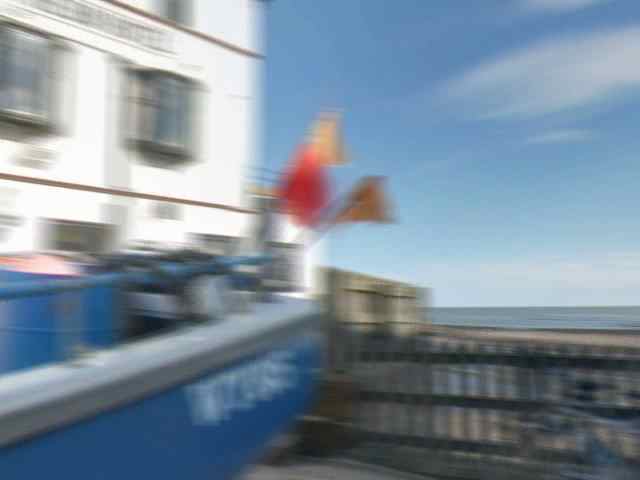
A single frame shows the effect of motion blur:
About this panorama
This panorama itself is of The Dock at Robin Hood's Bay, a former fishing village in North Yorkshire. The Bay Hotel pub is the destination of Alfred Wainwright's Coast to Coast walk.

