Difference between revisions of "Working with RAW files in CS2"
Erik Krause (talk | contribs) m (typo in image name) |
Erik Krause (talk | contribs) (removed redundant names, slight corrections and additions) |
||
| Line 9: | Line 9: | ||
[[Image:1cs_open.jpg]] | [[Image:1cs_open.jpg]] | ||
| − | First check the | + | First check the Temperature. You should select all pictures on the left side for this action (standard selection commands f.e. Ctrl+A for all), because the color temperature has to be the same for all pictures of your panorama. |
[[Image:temp1.jpg]] [[Image:temp2.jpg]] | [[Image:temp1.jpg]] [[Image:temp2.jpg]] | ||
| − | Use the | + | Use the Temperature slider to select the color temperature |
| − | If you prefer, you select one of the | + | If you prefer, you select one of the presets |
After that, check the exposure. CS2 automatically set the exposure tabs on Auto. Search for your key pic in the left row and tab it with the mouse. Uncheck the "Auto" and look at the result. | After that, check the exposure. CS2 automatically set the exposure tabs on Auto. Search for your key pic in the left row and tab it with the mouse. Uncheck the "Auto" and look at the result. | ||
| − | Adjust exposure by moving the (Exposure) slider on the right site: If you use the Alt key you will see the | + | Adjust exposure by moving the "Belichtung" (Exposure) slider on the right site: If you use the Alt key you will see the clipped bright parts on black background, moving the first slider Exposure; Same for "Tiefen"(Shadows), you will find the clipped dark parts on white background. You can check Shadows and/or Highlights checkbox on top to see clipped areas permanently. |
[[Image:exp1.jpg]] [[Image:exp2.jpg]] | [[Image:exp1.jpg]] [[Image:exp2.jpg]] | ||
| Line 28: | Line 28: | ||
[[Image:sharp.jpg]] | [[Image:sharp.jpg]] | ||
| − | Sharpening: zoom in 400% and play with the sharpening (Sharpness) slider | + | Sharpening: zoom in 400% and play with the sharpening (Sharpness) slider. Look for the shadows, noise might be best visible there. |
[[Image:noise.jpg]] | [[Image:noise.jpg]] | ||
| − | Go to the second slider "Luminanzgl�ttung"(Luminance Smoothing) : This will reduce noise without | + | Go to the second slider "Luminanzgl�ttung"(Luminance Smoothing): This will reduce noise without in the luminance (brightness) channel. |
[[Image:noise2.jpg]] | [[Image:noise2.jpg]] | ||
| − | "Farbst�rungsreduktion" (Color Noise Reduction) will reduce the noise just | + | "Farbst�rungsreduktion" (Color Noise Reduction) will reduce the noise just in the color channels. |
[[Image:ca1.jpg]] | [[Image:ca1.jpg]] | ||
Chromatic aberration in the Lens tab: | Chromatic aberration in the Lens tab: | ||
| − | Detailed information about | + | Detailed information about CA on [[Chromatic aberration]] |
'''Vignetting''' | '''Vignetting''' | ||
| Line 47: | Line 47: | ||
[[Image:vignetting.jpg]] | [[Image:vignetting.jpg]] | ||
| − | A very powerful tool is the vignetting | + | A very powerful tool is the vignetting control: Select all pictures on the left side and move the vignetting "Amount" slider until the picture looks right. |
Options and saving the pictures | Options and saving the pictures | ||
| Line 53: | Line 53: | ||
[[Image:op1.jpg]] | [[Image:op1.jpg]] | ||
| − | Lastly, set the options for | + | Lastly, set the options for Space, Size, Depth and Resolution. |
[[Image:save.jpg]] | [[Image:save.jpg]] | ||
| − | Once you are satisfied with the modifications that you have made, save all | + | Once you are satisfied with the modifications that you have made, save all the images in a batch process. Click on "5 Bilder speichern..." (Save 5 images...) |
[[Image:save2.jpg]] | [[Image:save2.jpg]] | ||
Select the destination folder or create a new one. | Select the destination folder or create a new one. | ||
| − | Modify the file naming scheme for the images and select the required file format. | + | Modify the file naming scheme for the images to your need and select the required file format. |
Florian Bertzbach | Florian Bertzbach | ||
[http://www.foto.bertzbach.de ...faszination fotografie] | [http://www.foto.bertzbach.de ...faszination fotografie] | ||
Revision as of 22:44, 2 October 2005
Working with RAW panorama source files (German CS2 images with English added in () after German names)
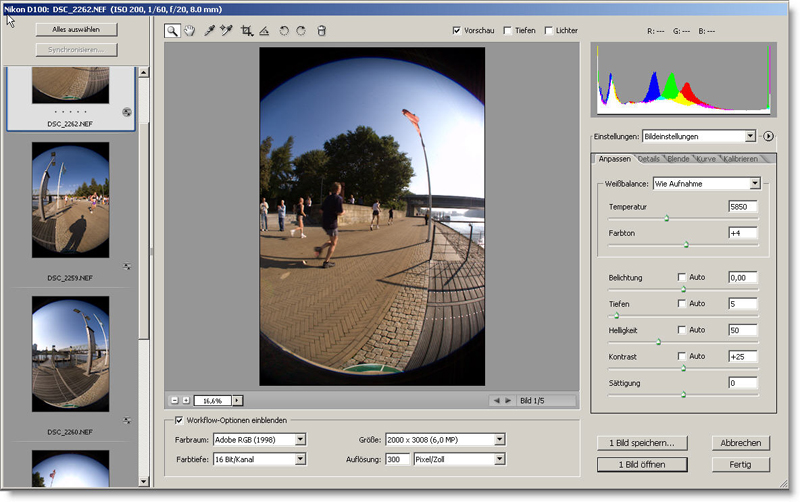
Working within CS2, click File->Open and then navigate to the panorama's source images. Select the relevant source files and click Open.
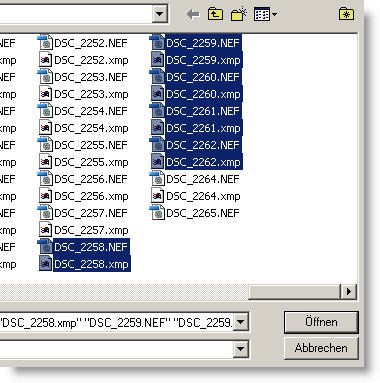
A window will open with thumbnailed pictures on the left and the select picture in the middle. On right hand side are tabs with the images' parameters and adjustment sliders.
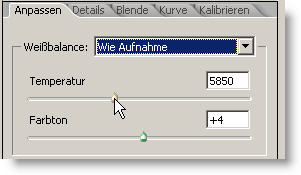
First check the Temperature. You should select all pictures on the left side for this action (standard selection commands f.e. Ctrl+A for all), because the color temperature has to be the same for all pictures of your panorama.
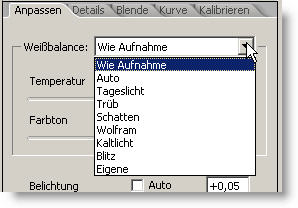
Use the Temperature slider to select the color temperature If you prefer, you select one of the presets
After that, check the exposure. CS2 automatically set the exposure tabs on Auto. Search for your key pic in the left row and tab it with the mouse. Uncheck the "Auto" and look at the result.
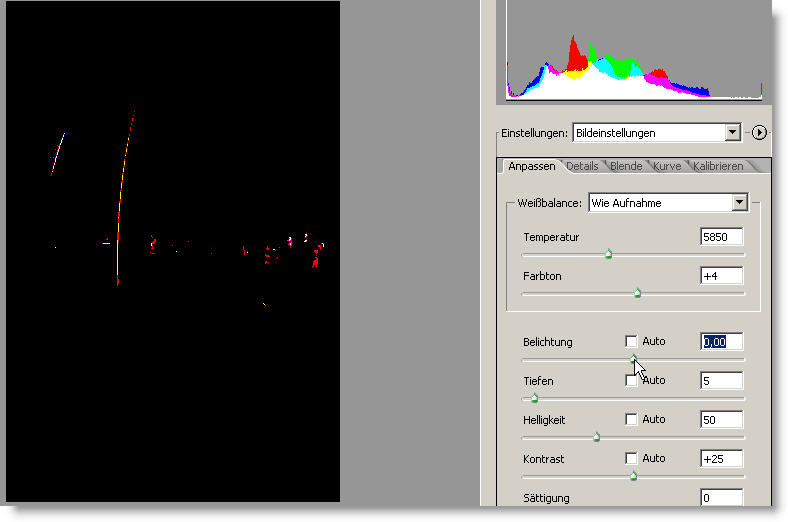
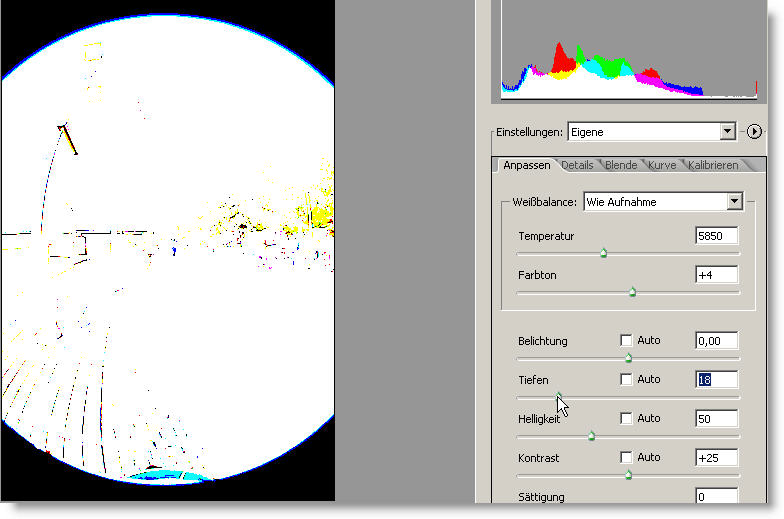
Adjust exposure by moving the "Belichtung" (Exposure) slider on the right site: If you use the Alt key you will see the clipped bright parts on black background, moving the first slider Exposure; Same for "Tiefen"(Shadows), you will find the clipped dark parts on white background. You can check Shadows and/or Highlights checkbox on top to see clipped areas permanently.
Now you may correct other parameters in the Detail tab:
Sharpening and color noise reduction
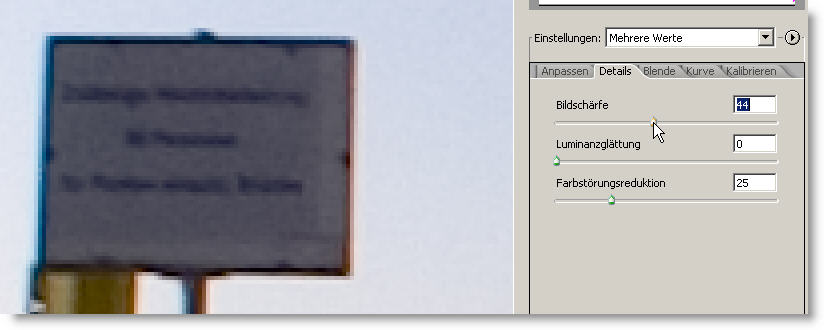
Sharpening: zoom in 400% and play with the sharpening (Sharpness) slider. Look for the shadows, noise might be best visible there.
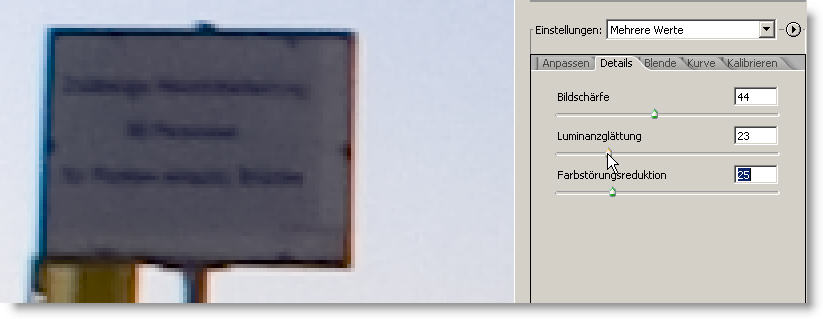
Go to the second slider "Luminanzgl�ttung"(Luminance Smoothing): This will reduce noise without in the luminance (brightness) channel.
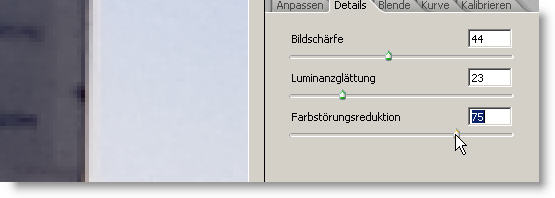
"Farbst�rungsreduktion" (Color Noise Reduction) will reduce the noise just in the color channels.
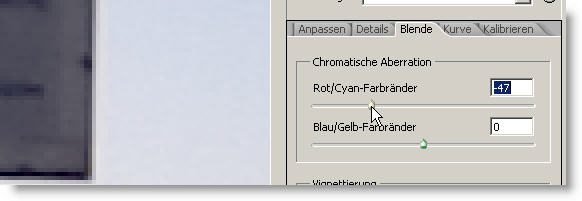
Chromatic aberration in the Lens tab: Detailed information about CA on Chromatic aberration
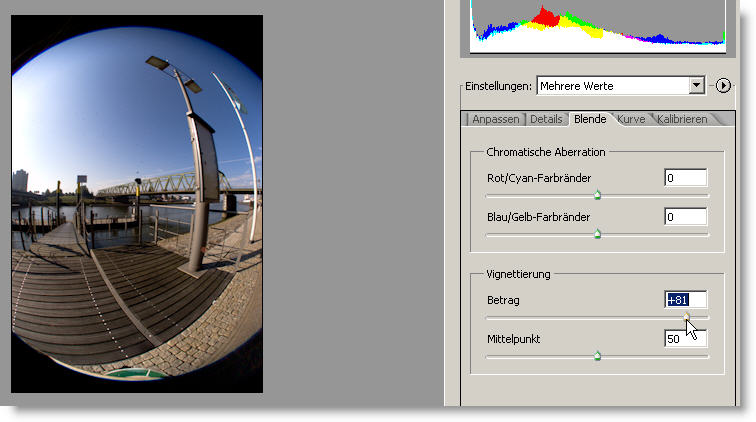
Vignetting
A very powerful tool is the vignetting control: Select all pictures on the left side and move the vignetting "Amount" slider until the picture looks right.
Options and saving the pictures
Lastly, set the options for Space, Size, Depth and Resolution.
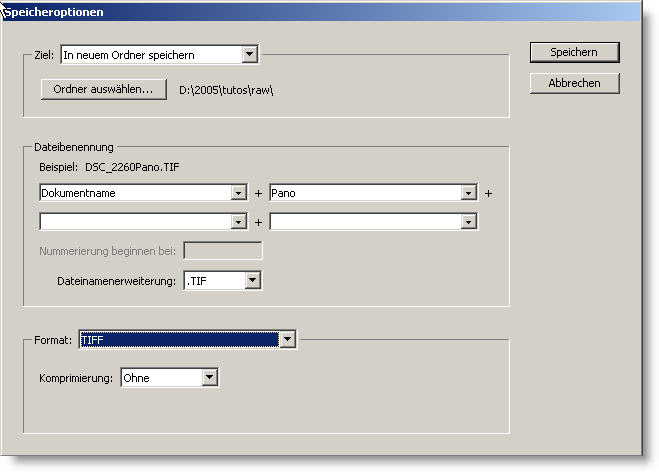
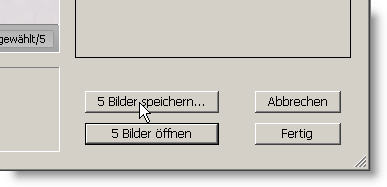 Once you are satisfied with the modifications that you have made, save all the images in a batch process. Click on "5 Bilder speichern..." (Save 5 images...)
Select the destination folder or create a new one. Modify the file naming scheme for the images to your need and select the required file format.
Florian Bertzbach
