Historical:Using enblend to fill the "Hole in the floor"
Jump to navigation
Jump to search
The printable version is no longer supported and may have rendering errors. Please update your browser bookmarks and please use the default browser print function instead.
This is a simple example for filling the "Hole in the Floor" using regular textures in the nadir image:
Prerequisites: You need image manipulation software which is able to create and manipulate alpha layers such as Photoshop or the Gimp.
This is the original nadir cubeface (extracted by PanoCube)
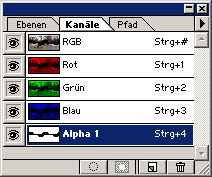
- Now switch to the alpha mask of your paint software. Here is an example as it may look in Photoshop:
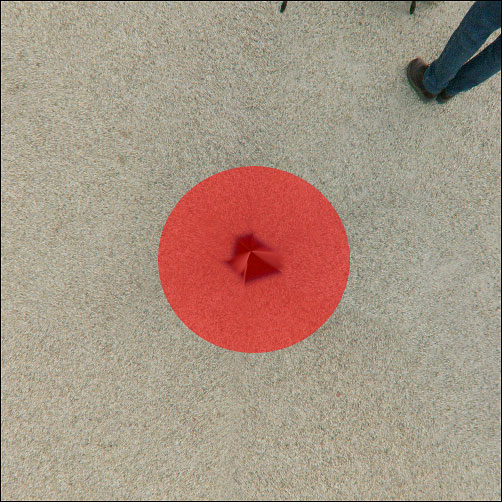
- Paint in the Alpha Mask using a brush with no feather to mask out unwanted areas. If you do everything right, the unwanted areas will have a red overlay:
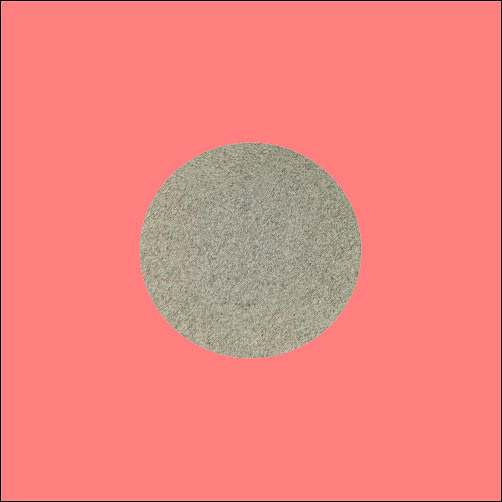
- Create a new image with the same size. Cut out a usable area from the original image and place it in the area where the unwanted areas are in the above image. Don't forget to create an appropriate alpha-mask. The new image may look like this:
Don't forget: The areas must have sufficient overlap. Otherwise enblend cannot work correctly.
- Save both images as TIFF (with the alpha mask)
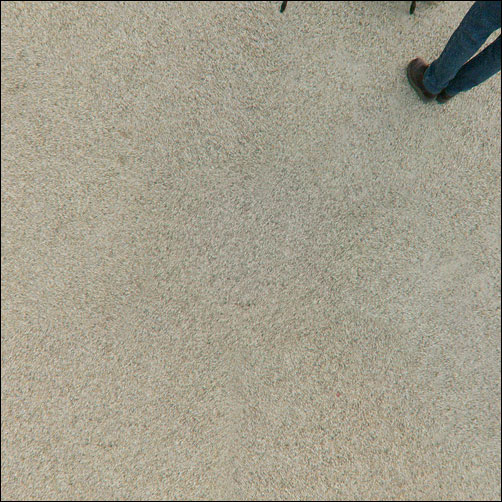
- Now run enblend to have these images blended. The final image will look like this:
If you want to play around with above examples, please download the files from Bernhard Vogl's site


