Historical:Using enblend to fill the "Hole in the floor"
This is a simple example for filling the "Hole in the Floor" using regular textures in the nadir image:
Prerequisites: You need image manipulation software which is able to create and manipulate alpha layers such as Photoshop or the Gimp.
This is the original nadir cubeface (extracted by PanoCube)
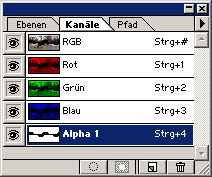
- Now switch to the alpha mask of your paint software. Here is an example as it may look in Photoshop:
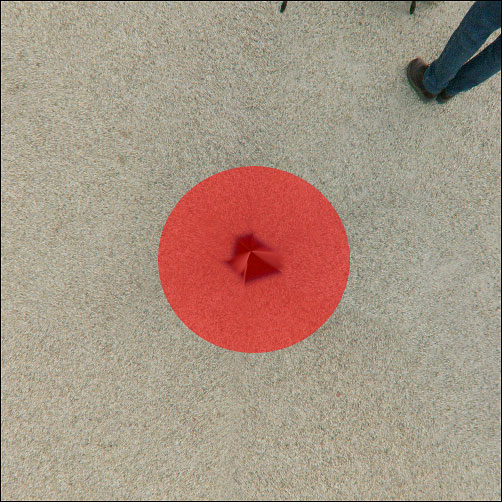
- Paint in the Alpha Mask using a brush with no feather to mask out unwanted areas. If you do everything right, the unwanted areas will have a red overlay:
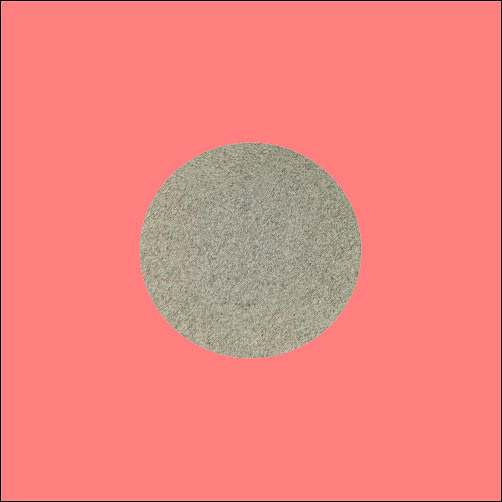
- Create a new image with the same size. Cut out a usable area from the original image and place it in the area where the unwanted areas are in the above image. Don't forget to create an appropriate alpha-mask. The new image may look like this:
Don't forget: The areas must have sufficient overlap. Otherwise enblend cannot work correctly.
- Save both images as TIFF (with the alpha mask)
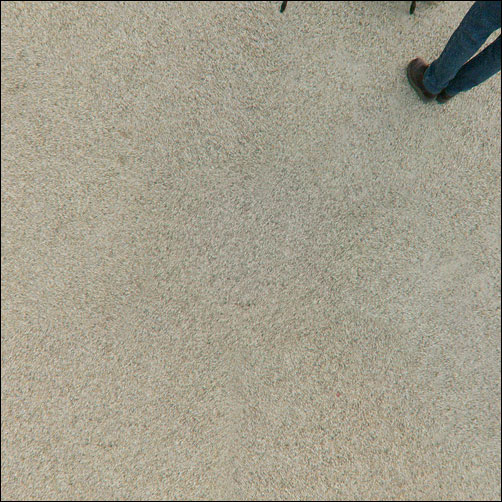
- Now run enblend to have these images blended. The final image will look like this:
If you want to play around with above examples, please download the files from Bernhard Vogl's site


