Difference between revisions of "Hugin Preferences"
m (note of number of control points) |
(Add screenshots) |
||
| Line 3: | Line 3: | ||
By default, [[hugin]] uses the internal [[nona]] stitcher. | By default, [[hugin]] uses the internal [[nona]] stitcher. | ||
Here you can enter an alternative stitching engine such as [[PTStitcher]] or [[PTmender]]. | Here you can enter an alternative stitching engine such as [[PTStitcher]] or [[PTmender]]. | ||
| + | |||
| + | [[Image:Hugin-061b-win-prefs_1.png]] | ||
= Assistant = | = Assistant = | ||
| Line 43: | Line 45: | ||
* have a very wide angle [[Field of View]] | * have a very wide angle [[Field of View]] | ||
* are tilted up or down, [[control points]] near the [[zenith]] or [[nadir]] may need to have full 360 degree rotation search | * are tilted up or down, [[control points]] near the [[zenith]] or [[nadir]] may need to have full 360 degree rotation search | ||
| + | |||
| + | [[Image:Hugin-061b-win-prefs_2.png]] | ||
= Misc = | = Misc = | ||
| Line 55: | Line 59: | ||
== Preview == | == Preview == | ||
| + | |||
| + | [[Image:Hugin-061b-win-prefs_3.png]] | ||
= Autopano = | = Autopano = | ||
| + | |||
| + | [[Image:Hugin-061b-win-prefs_4.png]] | ||
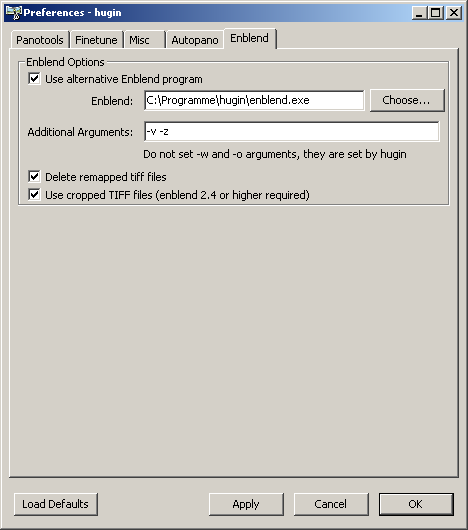
= Enblend = | = Enblend = | ||
| + | |||
| + | [[Image:Hugin-061b-win-prefs_5.png]] | ||
[[Category:Software:Hugin]] | [[Category:Software:Hugin]] | ||
Revision as of 23:50, 20 March 2007
Panotools
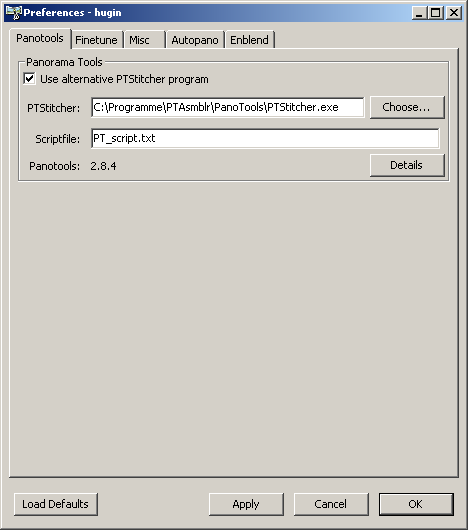
By default, hugin uses the internal nona stitcher. Here you can enter an alternative stitching engine such as PTStitcher or PTmender.
Assistant
The Hugin Assistant tab automates the entire panorama creation process, these settings allow you to customise the assistant.
Image loading
Select Automatically align images after loading to run the second Align... step immediately after loading the images.
Auto align
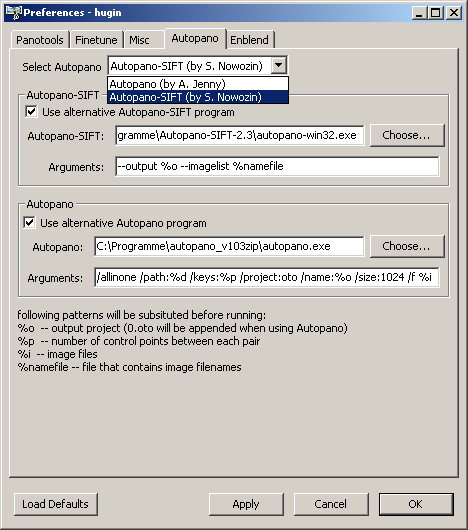
Auto align uses autopano-sift or autopano to generate control points between pairs of images, set Number of Ctrl Points per overlap to control the number of control points. Note that although most pictures can be stitched with just three or four control points, automatically generated points tend not to be very evenly distributed, so this number should be set to ten or more
The size of the output Panorama Image Size is usually set in the Hugin Stitcher tab where it is also possible to Calculate Optimal Size based on the sizes of the input images. The Auto align process does something similar, though here you can set a smaller output as a percentage. Generally setting a percentage of 70% leads to no great loss of quality due to the way a camera CCD samples data.
Create
After stitching you can open the final image in an external program, this could be an image editor such as the Gimp or an interactive panorama viewer such as panoglview.
Finetune
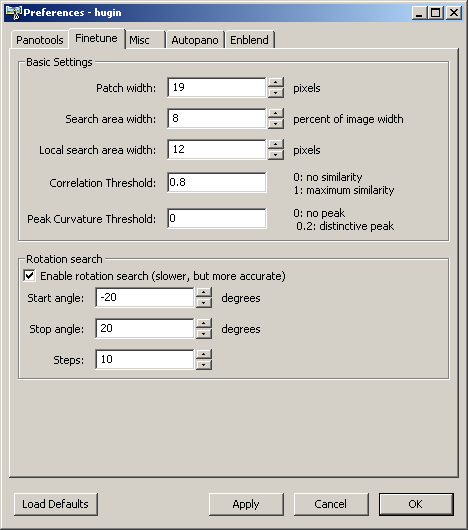
Basic settings
Rotation search
Enable this if your photos:
- have a very wide angle Field of View
- are tilted up or down, control points near the zenith or nadir may need to have full 360 degree rotation search
