Adding a nadir logo with text
For what it is...
The equirectangular projection is the starting point of several products.
This projection is extermly streched at zenith and nadir. An insertion of
a logo text isn't possible in one go or it looks distorted. in this tutorial
I show you a way to create such a remapped text that can be inserted directly
in an equirectangular panorama. The other advantage is that with this text you
don't need to remap the whole panorama. Every transformation results in quality
loss.
What do we need...
- Photoshop or a software that can run Photoshop actions (f. e. Gimp Win, Mac OSX, Unix )
- An equirectangular panorama (PSPhere, f. e. 6000 x 3000 pixels)
- Panotool plug-in for Photoshop created by Thomas Niemann (download here)
- Batch file to produce faces from an equirectangular pano(Pano2Faces.bat) and vice versa (Cube2Pano.bat) from Eric Gerds (download here)
- Photoshop action to create the mirror ball cap with white text plate (download cap_text.atn)
- Logo text as Photoshop file (download LogoText.psd)
Creating a pano with nadir cap
For this step you need the Photoshop action cap_text.atn to produce the
white plate for the logo text.
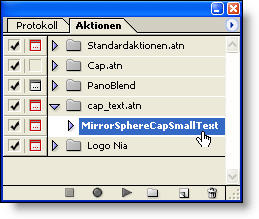
You have to stop the action when you areasked for the remapped text file.
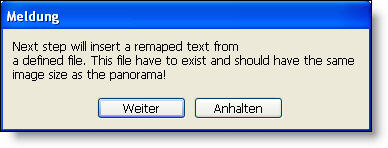
Keep in mind the original size of your panorama (f. e. 6000 x 3000 pixels)
You will need this value later.
After this step the modified panorama looks like this:
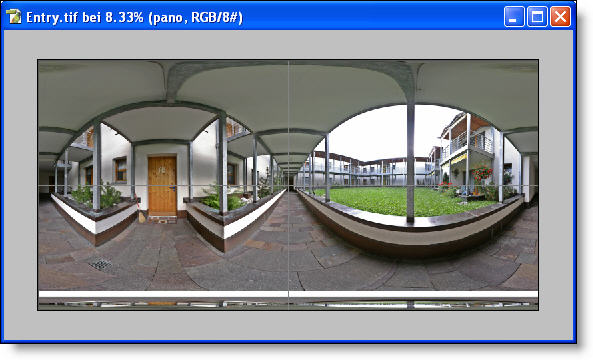
You see a white area where the logo text will be inserted.
Remapping nadir
Here you can find two different ways to extract the nadir view for inserting a logo:
1.) With Panotools Plugins
2.) With extracting cube faces
Other ways how to extract rectilinear images from a pano are described in Extracting and inserting rectilinear Views
Remapping nadir with PanoTools Plugins
First turn canvas by 180 degree:
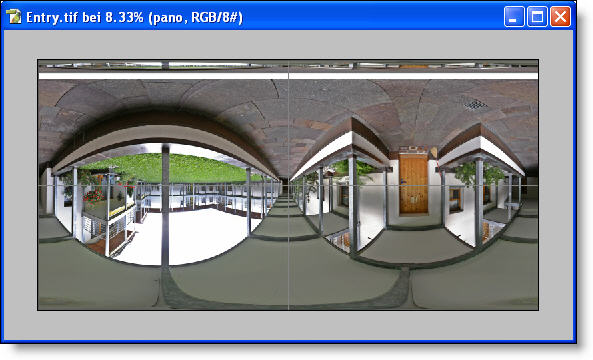
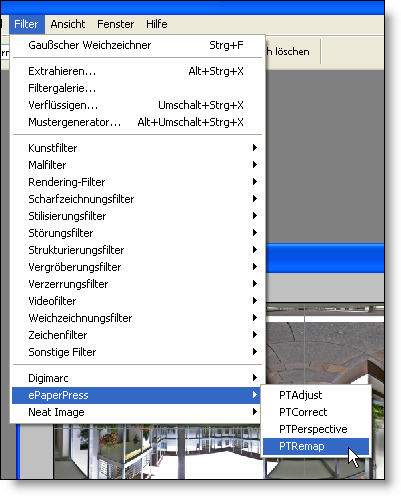
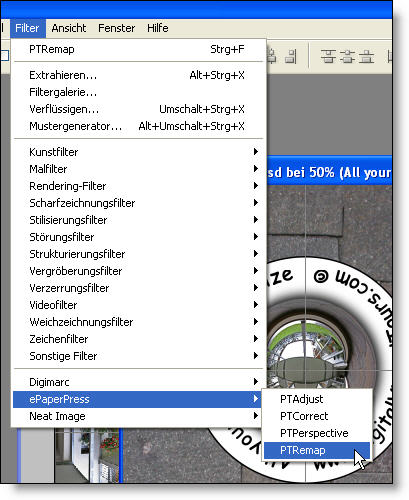
Run Panotools plugin PTremap (Filter > ePaperPress > PTRemap):
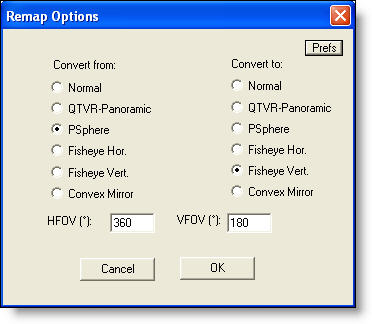
With these settings and values below:
When you hitting button Prefs (Image above) it should look like this:
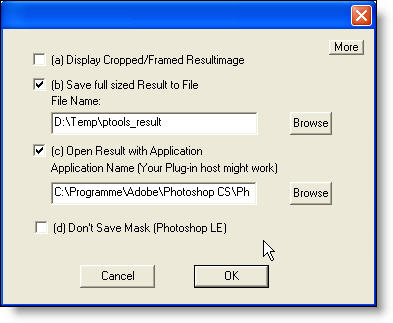
Whith these settings the remap plugin saves the remapped image in a new file.
This is really important because with every transformation of the panorama it
will loose quality. In this step we need only to see the mesure of the white
plate to transform the logo text to the right size.
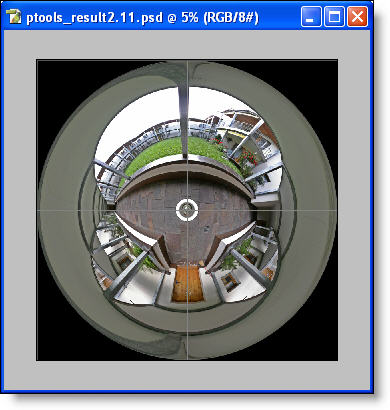
The remapped view in which you can see the small white circular plate in the middle:
And here with a closer look:
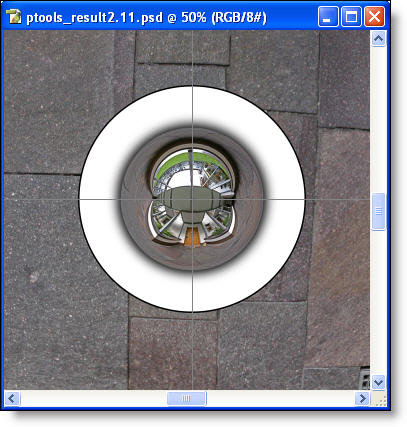
You can see here also the 50 % grid of Photoshop which is a really good helper to align the circular text.
As you can see the crossing of the grid is exactly in the middle of the sphere.
Now it's time to be creative and think about your logo text.
Or you take the way trough an additional method to extract the nadir view.
Remapping nadir with extracting cube faces
First of all, save panorama with a new name to the folder,
where you also will find the resulting faces from these steps.
In my case I use the name Entry_plate.tif:
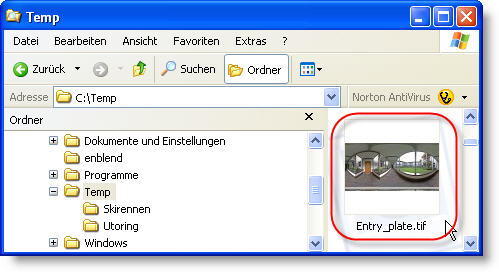
Open Windows Explorer and choose folder where you have saved the modified panorama.
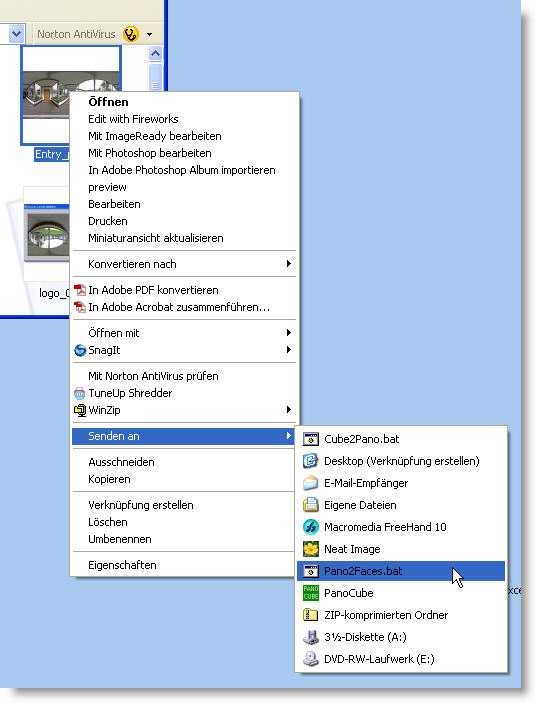
Right click on the file, go to send to... and choose Pano2Faces.bat to
extract six Cube faces out of the equirectangular panorama.
Now a dos window pops up in which you have to define the size of the cubfaces:
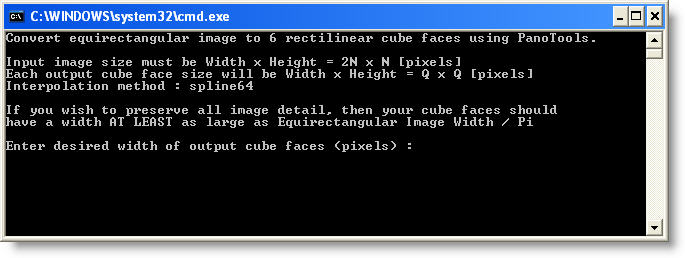
According to the size of the original panorama we have a equirectangular
projection with 6000 pixel width and 3000 pixel height.
- 6000 / 3.14 = 1910 (approx.)
![]()
Hit enter key and the batch file starts processing.....
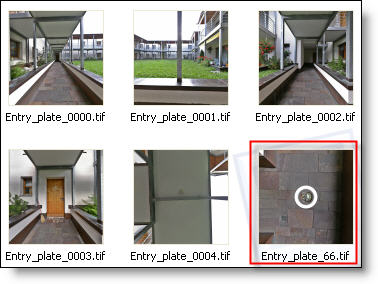
..... and now you can see the six cube faces generated by the batch process.
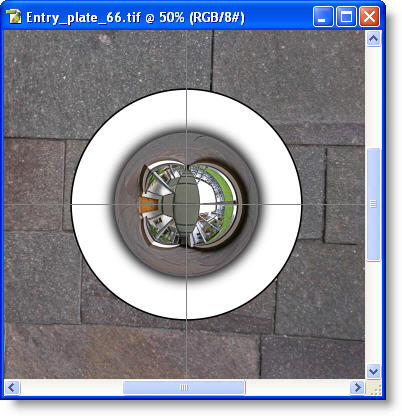
We need only the nadir face with the ending _66. The white text plate is
cleraly visible in the middle of this face.
Zoomed in.....
Inserting text
Plugin method
Open a prepared Photoshop text file to fill in like this (for download of an example click here):
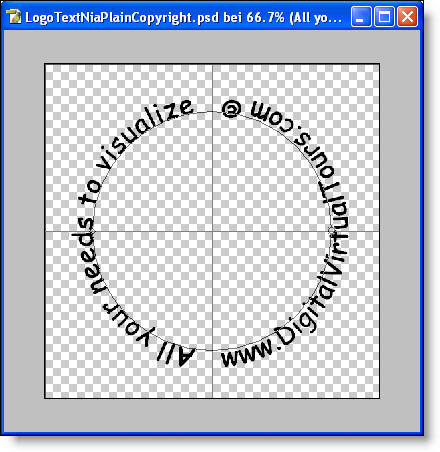
As you can see the logo is flipped 90 degree counter clock wise.
This way the logo gets the right orientation when you remap it back to PSPhere.
Note: After changing the text to your needs you have to flatten these two
text layers to one layer!
Drag and drop this Photoshop logo file over the file with the nadir view
by holding the shift key to center the text. After this hit Ctrl+T to transform
text layer to the right size. By holding the shift+alt keys and pull on one of
the transform squares you can fit in the text to the white plate.
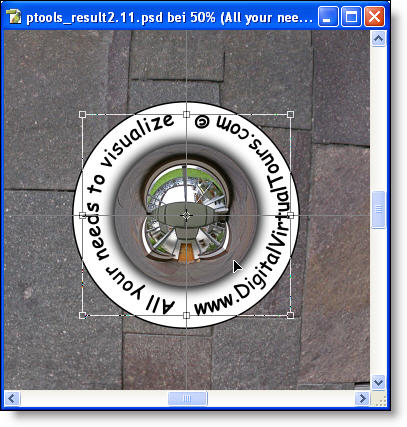
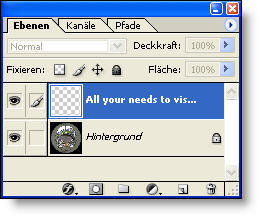
After this text transformations take a look at the layer palette in Photoshop.
Be aware that the text layer is on top and active for the next steps. This way we
we will only remap the text layer.
Cube face method
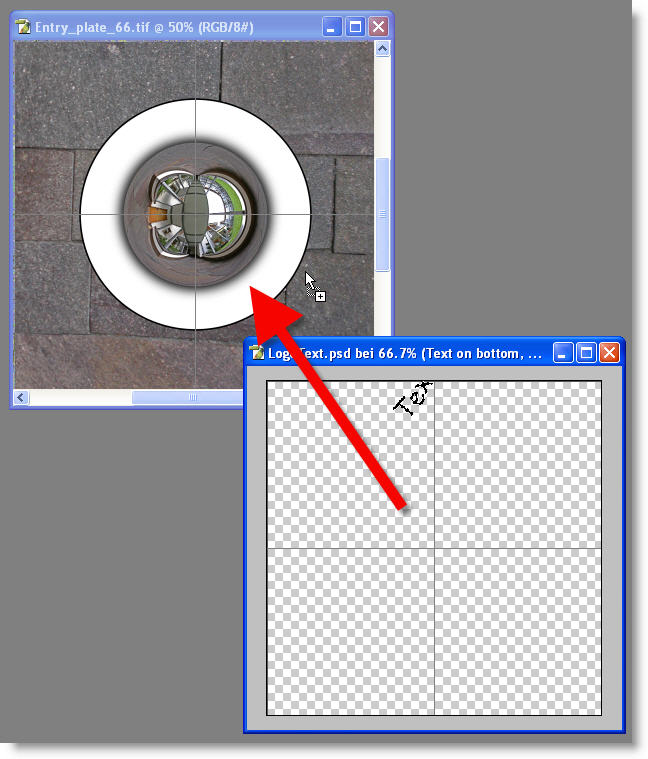
Inserting a prepared logo text by drag and drop. When you holding the shift key
the text will be centered
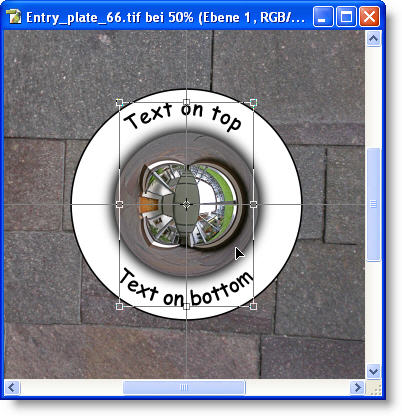
As you can see with this wrokflow with cube faces logo text can be upright.
So if you use the shared logo text sample you have to turn it 90 degree clock wise.
To do so simply press Ctrl+T to transform this layer and turn it by dragging outside
the selection or fill in 90 degree in the menue bar.
Logo text is positioned so we don't need background layer anymore.
We delete it by darg and drop on the recycle bin as shown below:
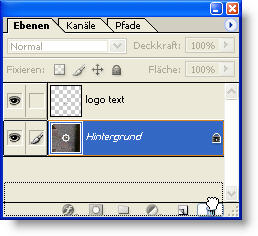
Reduce the existing layer to background.....

..... so you can see a black text with a withe background in the size
(1910 x 1910 pixels)of the original cube face:
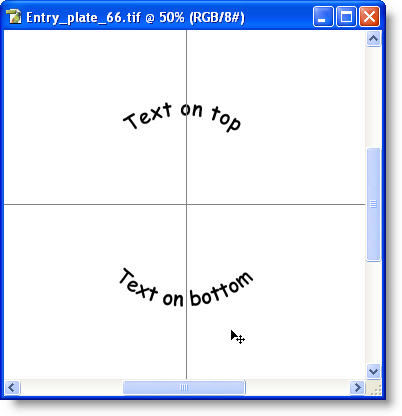
Remapping text back to PSPhere
Here you can find also two different ways to remap the logo text back to PSPhere (Eqirectangular projection):
1.) With Panotools Plugins
(These steps have an addiotional transformation to the text because the plugin alter the size of the file while transforming)
2.) With extracting cube faces
Other ways how to insert rectilinear images into a pano are described in Extracting and inserting rectilinear Views
Remapping text back to PSPhere with PanoTools Plugins
Run Panotools plugin PTremap (Filter > ePaperPress > PTRemap):
Settings for the re-transformation:
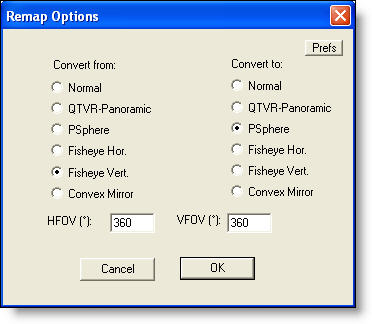
This is the remapped